


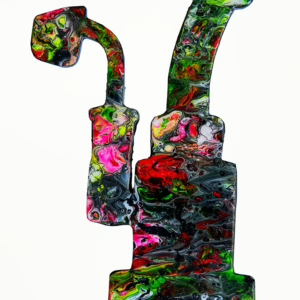
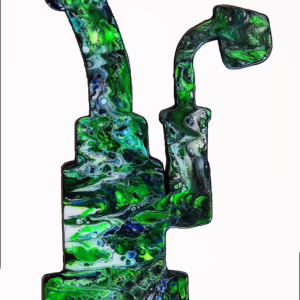
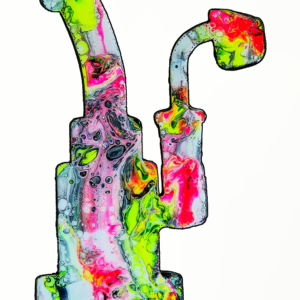
The DynaVap Bonger airport mod is a DIY upgrade that transforms your Bonger’s airflow by drilling a matching hole in the condenser. In Part 1 of this series, we added an airport hole to the Bonger body. Now in Part 2, we take it further by modifying the condenser so both holes align perfectly, giving you full airflow control and bigger, smoother vapor clouds. If you own a DynaVap Bonger and want to level up your sessions, this 5-step guide walks you through the entire process.
Why the DynaVap Bonger Airport Mod Matters
The original DynaVap Bonger is a solid piece of kit, but it lacks a carb hole (airport) for airflow control. Without one, you cannot cycle fresh air during your draw. In Part 1, drilling a hole in the Bonger body helped, but because the condenser inside was still sealed, the airflow improvement was limited. The DynaVap Bonger airport mod in Part 2 solves this by adding a matching hole in the condenser, unlocking the full potential of the airport and letting you control heat cycling, vapor density, and cloud size like never before.
5 Steps to Complete the DynaVap Bonger Airport Mod
Here are the 5 steps to finish your DynaVap Bonger airport mod and get maximum airflow from your condenser upgrade.
Step 1: Gather Your Tools
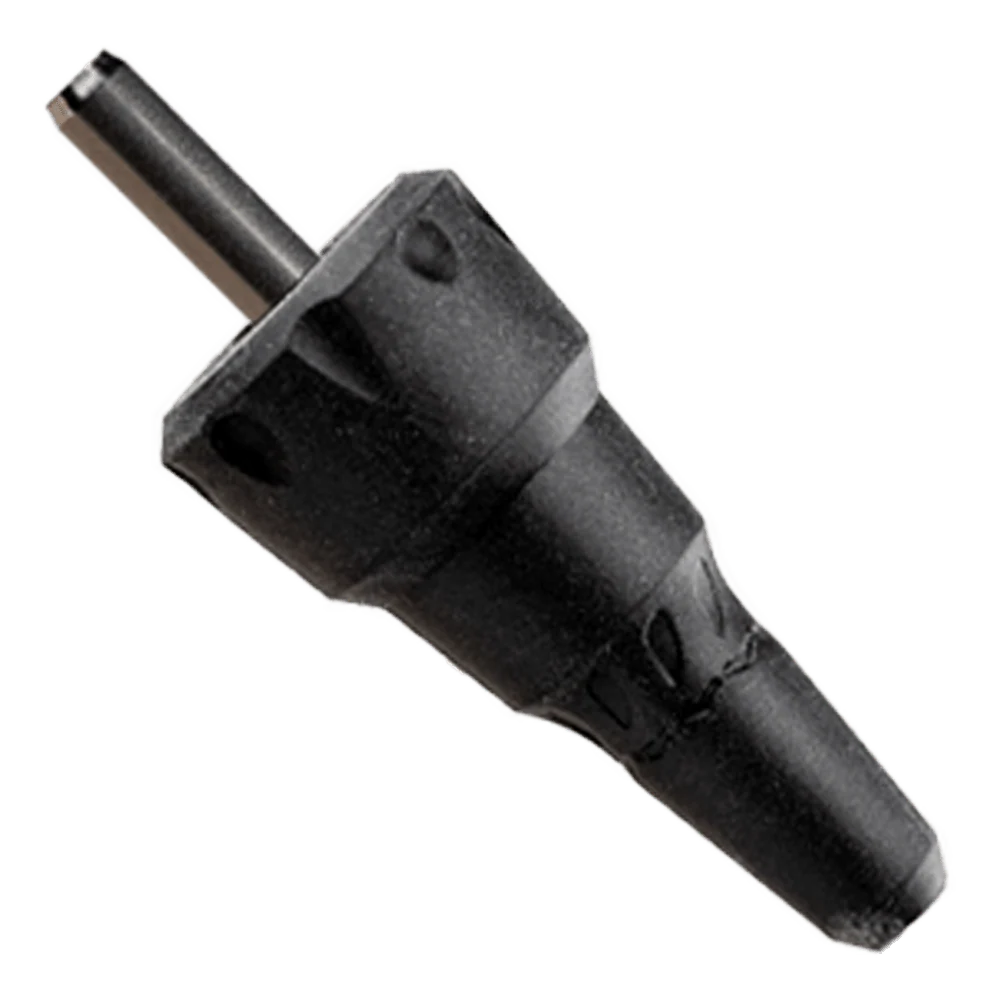
You will need a Dremel (or hand drill), a diamond-coated drill bit, toothpicks, 80-grit sandpaper, and a cleaning solution (dish soap and water). The diamond drill bit is essential because it cuts cleanly through the stainless steel condenser without cracking or warping it. If you are not comfortable with power tools, this mod may not be for you. Remember, this is a DIY modification and is not sanctioned by DynaVap, so proceed at your own risk.
Step 2: Mark and Start the Condenser Hole
Insert a toothpick into the condenser to provide internal support and prevent the tube from collapsing under drill pressure. Place the condenser back inside the Bonger body with the toothpick still inside. Using your Dremel at a speed setting between 20 and 25, guide the diamond bit through the existing Bonger body hole to create a small guide dot on the condenser. Do not push too hard; the silicone body can be damaged easily. Once you have a visible mark, remove the condenser from the Bonger.
Step 3: Drill the Condenser Hole
With the condenser removed and the toothpick still inside for support, carefully drill through the marked spot. The diamond bit will cut through the stainless steel relatively quickly. Be prepared for the metal to bend slightly inward around the hole. This is normal and will be cleaned up in the next step. Keep steady pressure and let the drill bit do the work rather than forcing it through.
Step 4: Sand and Clean the Condenser
Wrap a small piece of 80-grit sandpaper around a fresh toothpick and insert it into the condenser to smooth out any metal burrs or sharp edges around the drilled hole. You do not need a mirror finish; just remove any loose metal fragments that could come off during use. Once sanded, wash the condenser in a Ziploc bag with warm water and dish soap. Shake it thoroughly, rinse, and let it dry completely before reassembly.
Step 5: Reassemble and Align the Holes
This is the trickiest part of the DynaVap Bonger airport mod. Insert the condenser back into the Bonger and carefully align the condenser hole with the Bonger body hole. Use a toothpick inserted through the Bonger’s airport hole to feel for the condenser opening. A helpful technique is to shine your phone flashlight from the bottom while looking through the airport to visually confirm alignment. Once aligned, attach the Hyper Tip and Cap carefully, covering the CCD screen with your finger to prevent it from popping out.
DynaVap Bonger Airport Mod Session Results
After completing the DynaVap Bonger airport mod, the difference is immediately noticeable. Using the MJ Arsenal Summit Bong with hash (static dry sift), the airport control allows you to cycle fresh air during your draw by covering and uncovering the hole with your finger. This builds heat, releases it, and then pulls in cool air to create denser, smoother, and larger vapor clouds. The modded setup works especially well with the Hyper Tip and Cap combo, where you can push past the click for hash and use the airport to control draw resistance on the fly.
3 Tips for a Better DynaVap Bonger Airport Mod
After completing this project, here are 3 tips to make the process smoother if you try it yourself:
- Use a toothpick that matches the condenser diameter for better internal support during drilling.
- Set your bong on a flat surface when using the modded Bonger so you can manage the airport, wand, and bong without juggling everything in your hands.
- Use cotton bacon or vape wool when vaping hash through the Bonger to keep cleanup easy and protect the CCD screen.
Frequently Asked Questions
Is the DynaVap Bonger airport mod reversible?
No. Drilling a hole in the condenser is a permanent modification. The Bonger itself only costs around $15, so the financial risk is low, but DynaVap will not warranty a modified condenser or Bonger. Make sure you are comfortable with DIY projects before attempting this.
Can I use a hand drill instead of a Dremel?
Yes, a hand drill works, but a Dremel with a diamond-coated bit provides more control and precision. The condenser tube is small, so a rotary tool with adjustable speed is ideal for this type of work.
Does the airport mod work with flower or just hash?
The DynaVap Bonger airport mod works with both flower and hash. With flower, you get smoother draws and better airflow cycling. With hash, the airport is especially useful because you can push past the click temperature and use the carb hole to manage heat and vapor density.
References
Learn More on Herbistry420
- Product Reviews — In-depth reviews of DynaVap, vaporizers, and accessories
- Smoke, Vape & Blaze — Techniques, tips, and session guides
- Art Projects & DIY — Cannabis-inspired crafts and builds
Purchase Links
Save 10% with coupon code Herbistry at DynaVap:
Note: Some links are affiliate links. Purchases through these links support the channel at no extra cost to you.
Add comment