
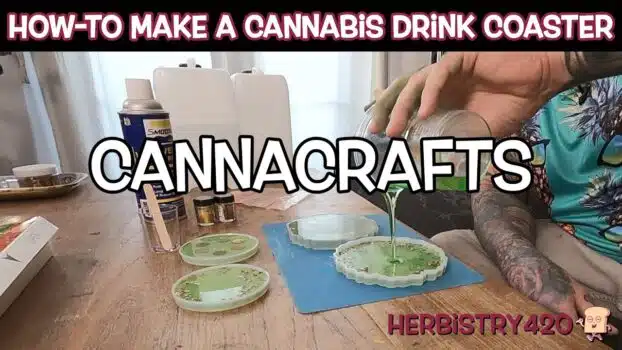


This cannabis resin coaster DIY tutorial walks you through 4 easy steps to create beautiful, functional coasters embedded with cannabis seeds. Using a two-part epoxy resin, silicone molds, and a splash of alcohol ink, you can make a one-of-a-kind craft that doubles as a conversation piece for any 420-friendly space.
What You Need for This Cannabis Resin Coaster DIY
Before diving into this epoxy resin craft tutorial, gather your supplies. Most items are affordable and available on Amazon. Here’s what you’ll need:
- 2-part epoxy resin (e.g. Dipoxy — mix ratio 2:1 Part A to Part B)
- Silicone molds in your preferred coaster shape (round, square, hexagon)
- Cannabis seeds (or a dried weed leaf for a different look)
- Alcohol ink for transparent color, or mica powder for opaque tints
- Silicone mat to protect your work surface
- A small kitchen torch to pop air bubbles
- Gloves — essential if you’re new to resin work
- Digital scale for accurate resin measurement
4-Step Cannabis Resin Coaster DIY Guide
Step 1 — Mix Your Epoxy Resin
This epoxy resin craft tutorial starts with accurate mixing. Weigh out your resin according to the manufacturer’s ratio — for a 2:1 resin like Dipoxy, that’s 200g of part A and 100g of part B into a mixing cup. Stir thoroughly for 3–5 minutes, scraping the sides and bottom of the cup. Under-mixing leads to sticky spots that never fully cure. You have about a 40-minute working window before the resin becomes too thick to pour.
Step 2 — Color the Resin and Prep the Silicone Mold Coaster
Preparing your silicone mold coaster is where the creativity kicks in. If you’ve used your molds many times before, spray them lightly with mold release so the finished coaster pops out easily. For alcohol ink resin coloring, add a few drops directly into the mixed resin — this keeps it transparent so your cannabis seeds stay fully visible. Mica powder creates an opaque, sparkly look but can hide seeds underneath. Swirl the color in gently without whipping in air bubbles.
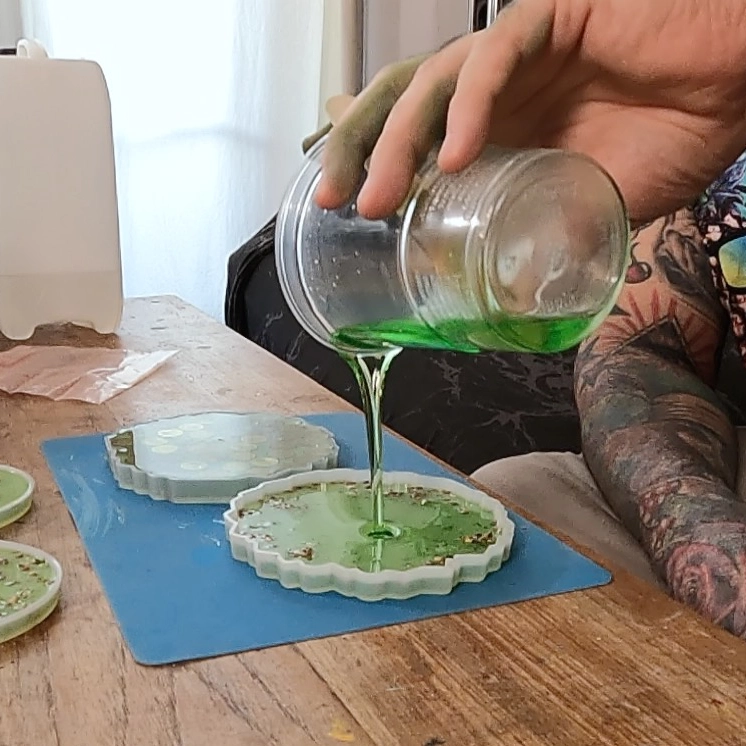
Step 3 — Arrange Cannabis Seeds in Resin and Pour
Now for the centerpiece of this cannabis resin coaster DIY. Arranging cannabis seeds in resin takes a little patience. Place seeds (or coins, or a combination of both) in the bottom of the mold. Pour the colored resin slowly from the outer edge, working inward to keep seeds centered. For seeds precisely in the middle layer, pour a thin base first, wait 2–3 hours until it’s tacky, press the seeds in, then pour the final layer on top. After pouring, use a torch to pass quickly over the surface — this breaks surface tension and pops air bubbles instantly.
Step 4 — Cure and Demold
Leave your molds on a level surface for at least 24 hours. The silicone mold coaster should release with a gentle flex of the sides — pop it out and check. While it feels hard after 24 hours, the resin reaches its full hardness at 7–28 days depending on the brand. Sand any rough edges with fine-grit sandpaper for a polished, professional finish.
Alcohol Ink Resin Coloring: Tips and Tricks
Getting alcohol ink resin coloring right is an art form on its own. A few drops go a long way — too much ink can affect how the resin cures. Try mixing two complementary colors for a marbled swirl, or leave the resin completely clear to let the cannabis seeds in resin take full visual command. Always keep alcohol ink bottles tightly capped; they love to explode everywhere when you least expect it. If ink lands on your hands, isopropyl alcohol removes it quickly before it stains permanently.
Frequently Asked Questions
What resin is best for a cannabis resin coaster DIY?
Any 2-part epoxy resin labeled for casting or tabletop use works well. Look for a clear, self-leveling formula. Brands like Dipoxy, ArtResin, and TotalBoat are popular choices. Always follow the specific mix ratio on the label — it varies by brand.
Can I use a real cannabis leaf instead of seeds?
Yes! Pour a thin base layer of resin, wait until it reaches a tacky consistency (about 2–3 hours), press the dried cannabis leaf flat onto the surface, then pour the final resin layer to fully encase it. This two-pour method prevents the leaf from floating to the top.
How do I remove air bubbles from my resin?
Use a small kitchen torch — pass it quickly over the surface and never hold it in one spot. The heat breaks surface tension and pops bubbles in seconds. Go back over the molds a couple more times in the first hour as new bubbles rise from below.
Is epoxy resin safe to work with?
Uncured epoxy resin can cause skin irritation, especially with repeated exposure. Always wear gloves and work in a well-ventilated area. Once fully cured, epoxy resin coasters are durable and safe for everyday use as drink coasters.
References
- Epoxy Resin Overview — Wikipedia
- Isopropyl Alcohol on Skin — Healthline
- Cannabis Information — Health Canada
Learn More on Herbistry420
Purchase Links
🛒 Epoxy Resin – Clear – Non-Toxic – 2 gal (1 gal Resin + 1 gal Hardener) – https://amzn.to/3rjt4sS
🛒 Silicone Mat, 2 Pack 59.5 x 49.5 cm Oversize Silicone Mats for Crafts – https://amzn.to/3LkjXyV
🛒 Alcohol Ink Set – 24 Vibrant Colors – https://amzn.to/3EHsdoV
🛒 Mica Powder for Epoxy Resin – https://amzn.to/3LjlqFQ
Support Herbistry420 by visiting our Cannabis Apparel Store, we have t-shirts, hoodies, pants, towels, you name it!
Note: Some links are affiliate links. Purchases through these links support the channel at no extra cost to you.
Add comment